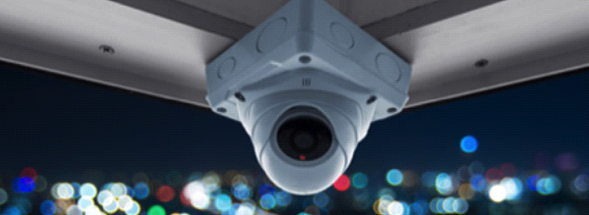
Il s’agit de l’étape la plus importante, si elle est négligée, le résultat obtenu ne sera pas à la hauteur des espérances. Inutile de placer des caméras partout, le but étant de positionner les caméras à des endroits stratégiques pour surveiller une zone précise.
Voici nos conseils pour sélectionner les bons emplacements intérieur
Fixer les caméras dans les angles pour visualiser toute la pièce à surveiller
Eviter toute présence lumineuse face à la caméra
Les bons emplacements extérieur
⦁ Fix the cameras between 2.5 and 5 meters high so that no one can access them. ⦁ Avoid any bright presence in front of the camera ⦁ Choose sheltered places or opt for cameras with visors to protect them from the elements
ETAPE 2 : MISE EN PLACE DE VOS CAMÉRAS
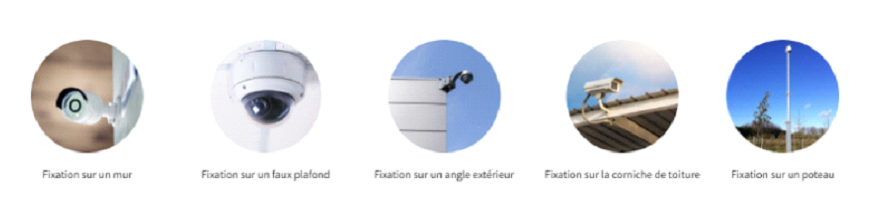
Fixez vos caméras, elles peuvent s’adapter sur tout type de surface grâce à leurs supports associés : mur, faux plafond, façade, corniche de toiture, poteau etc. (voir les pieds de fixation) Voici quelques exemples qui peuvent vous inspirer à choisir le bon support de fixation
ETAPE 3 : MISE EN PLACE DE VOTRE ENREGISTREUR
Pensez avant tout à choisir l’emplacement de votre enregistreur. Il doit être placé dans un endroit facile d’accès afin de le relier aisément à une box et/ou à un écran si besoin. Avoid locations such as bedrooms, closets, confined spaces … The recorder needs to breathe!
⦁ Position the recorder, monitor and mouse ⦁ Connect it electrically ⦁ Connect the recorder to your Internet Box.
ETAPE 4 : TIREZ LES CÂBLES
Vous devez maintenant relier vos caméras à l’enregistreur par le biais des câbles fournis.
2 cas de figure :
⦁ You have opted for KAMATEC cables with molded connectors: you can connect them directly to the cameras, then to the recorder and to the current for the analog solution. No need for a socket next to the camera, the double cable sends video and power. Ditto for the IP solution, the RJ45 cable sends video and power through the recorder. ⦁ You have video cables and BNC connectors / or network cables and RJ45 connectors: we recommend that you pull the cables out first, then crimp the connectors.
ETAPE 5 : RACCORDEZ TOUS LES ELEMENTS DU SYSTEME
All cameras are now connected to your recorder. You can then turn on your computer and connect the recorder to your box if you haven’t already.